Getting Into Bikepacking: What You Actually Need to Know
May 22, 2025If you’ve ever looked at a bikepacking photo and thought, “whoa, I want to do that,” then this guide is for you. Whether you’re just curious or ready to plan your first overnight trip, this is everything I wish someone had handed me when I got started.
This isn’t theory. It’s not an influencer’s gear list. It’s straight from the saddle, based on my years of bikepacking across the UK and around the world, a month-long solo ride around Iceland, and a whole bunch of trial-and-error.

Who am I to be telling you this?
I’m Ben Turner, aka The Adventure Coach. I spent 7 years in the British Army, chasing qualifications, fitness, and every bit of adventure I could find. When I left, I didn’t know what to do—so I got on a bike and rode across Iceland for 28 days, unsupported. That changed everything.
Now I coach people to get into fitness, outdoor adventure, and resilience, bikepacking included, and I believe the more we chase adventure, the more alive we feel.
Let’s dive in.
Bikepacking vs Cycle Touring: What’s the Difference?
Think of cycle touring like hiking with a 70l backpack. You’re on roads, with big panniers and probably a heavy setup that’s built for comfort and distance. It’s brilliant in its own way, but bikepacking is a different beast.
Bikepacking is the light-and-fast version. You’re aiming to travel more like an alpine mountaineer, carry less, go far, and get off the beaten path. That means fewer panniers, lighter kit, and a willingness to trade comfort for a deeper, more visceral connection with the outdoors. It’s not about shaving grams to the extreme, it’s about being mobile, adaptable, and able to go where touring bikes might hesitate.
What Bike Do You Actually Need?
People often ask me, “Do I need a fancy gravel bike to start?” Short answer: no.
Long answer: I’ve used a steel gravel bike, a carbon race bike, and a hardtail mountain bike. They all work.
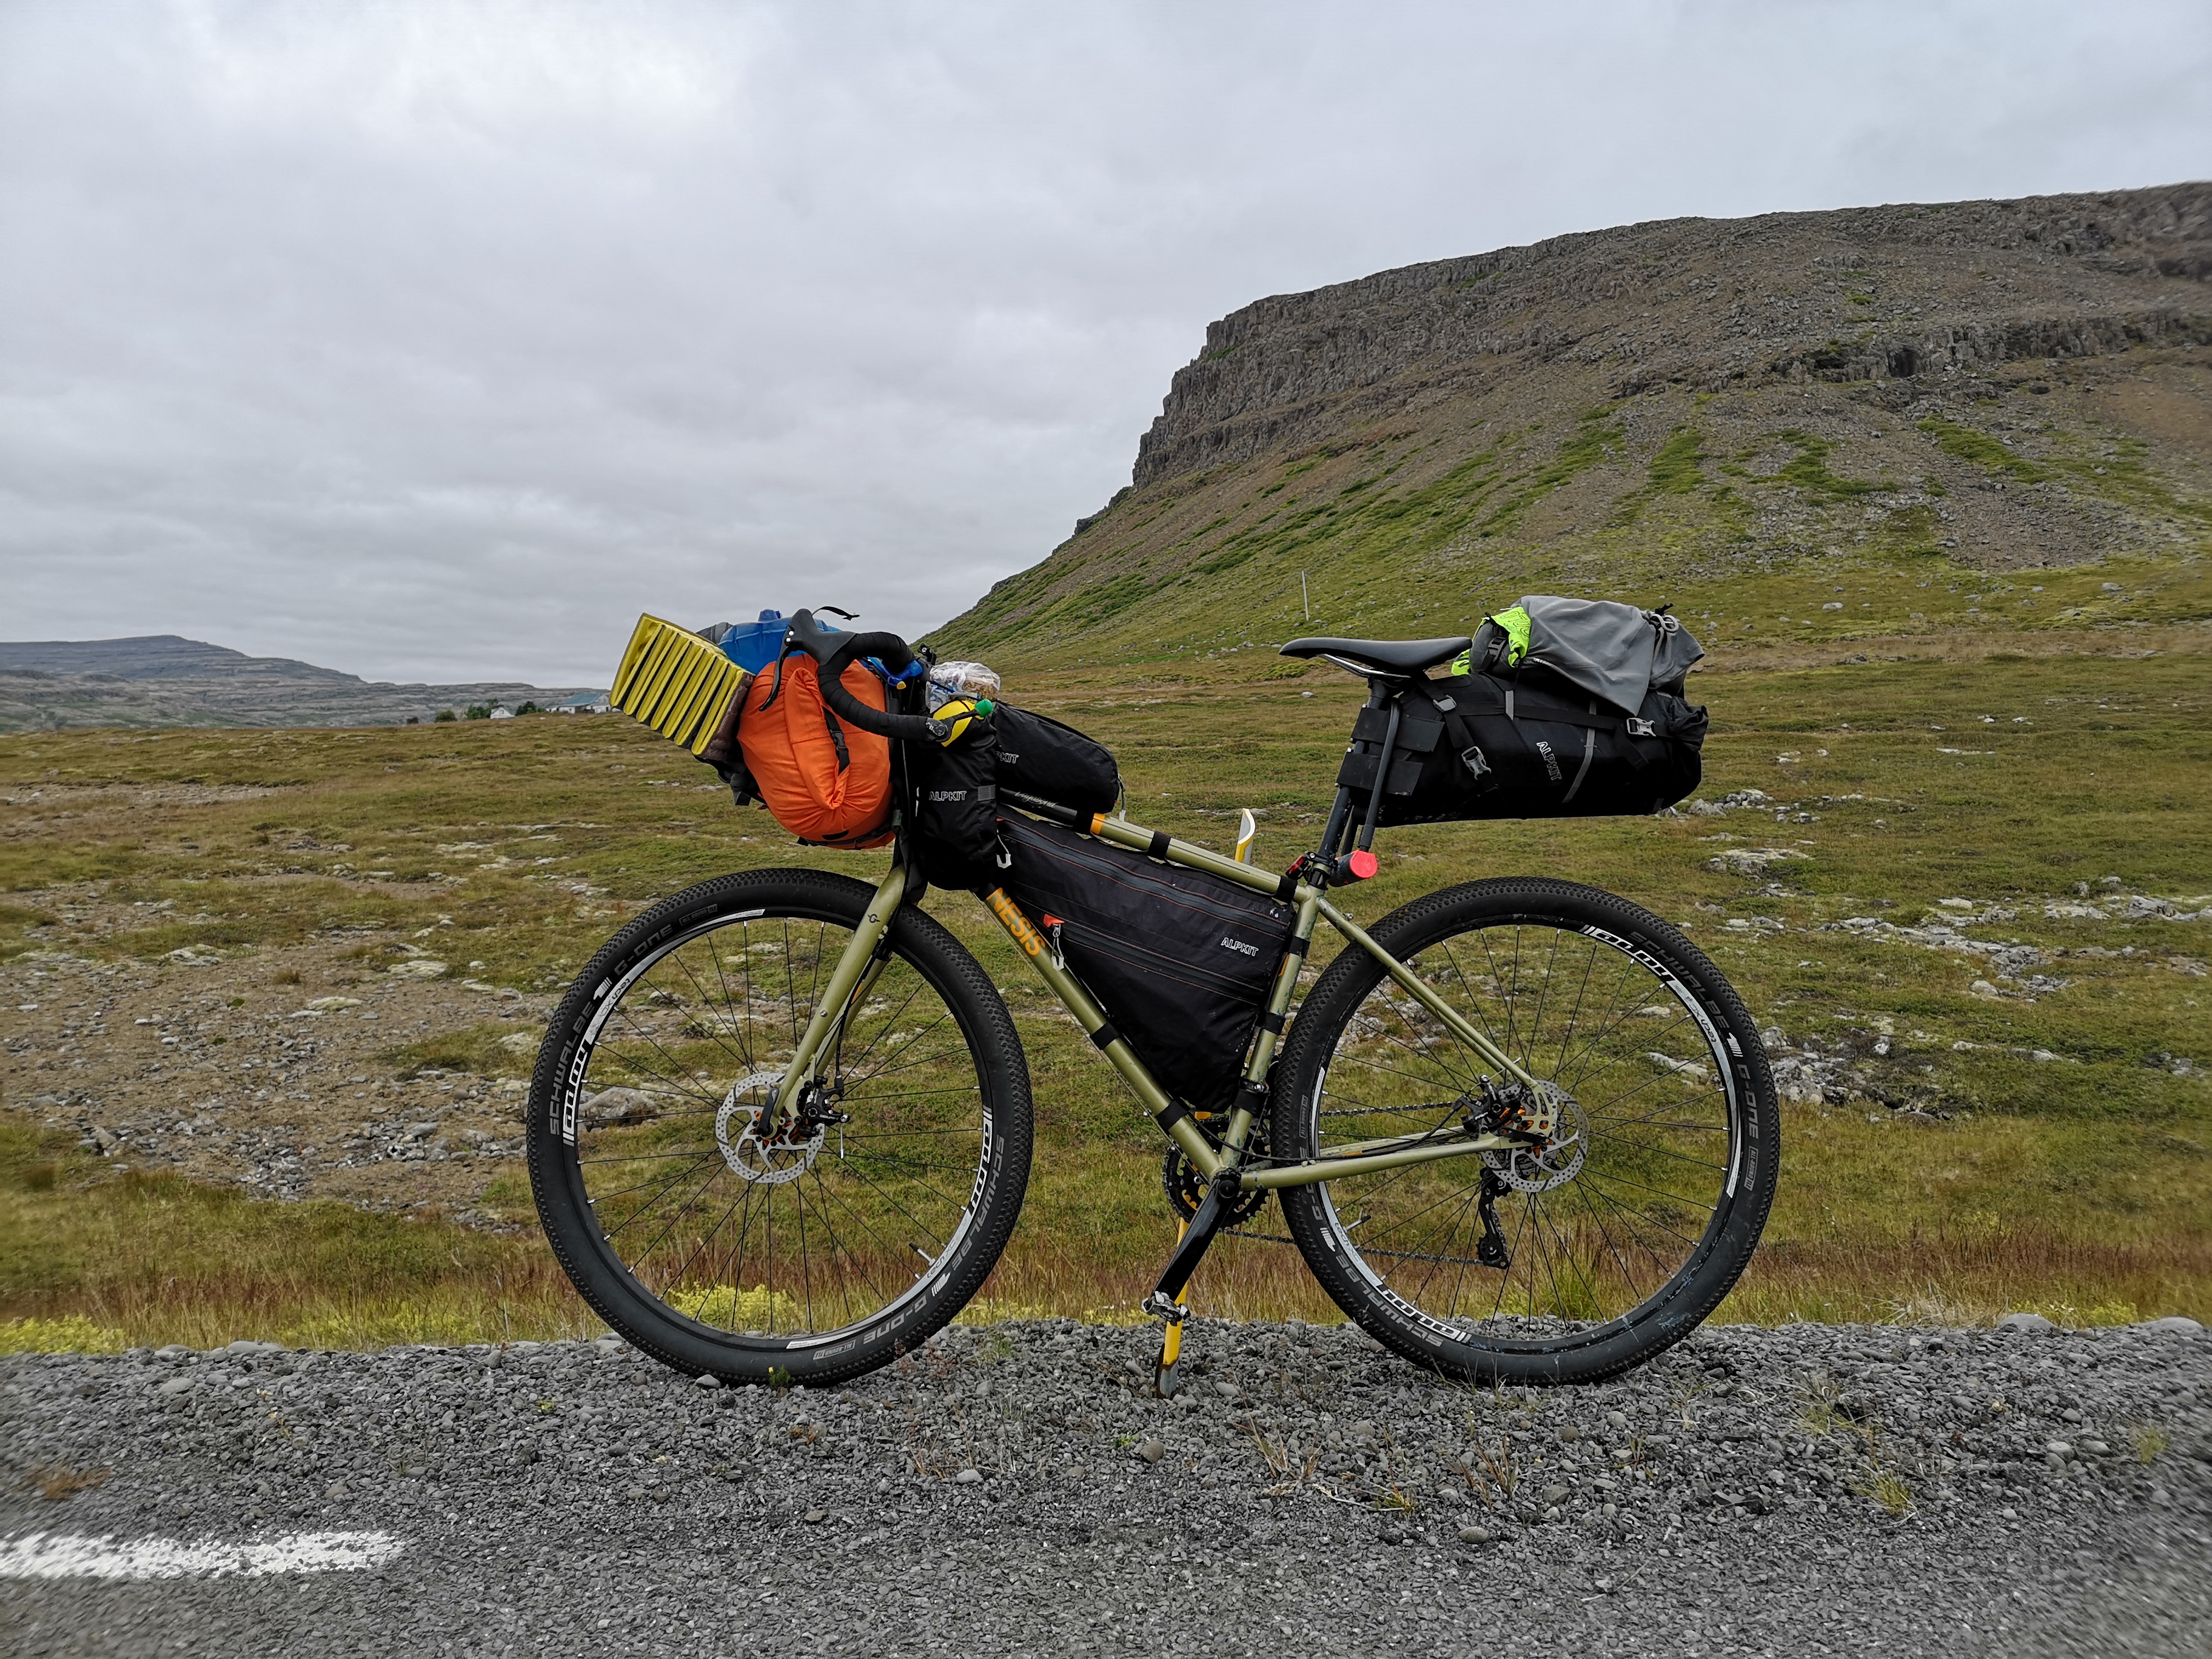
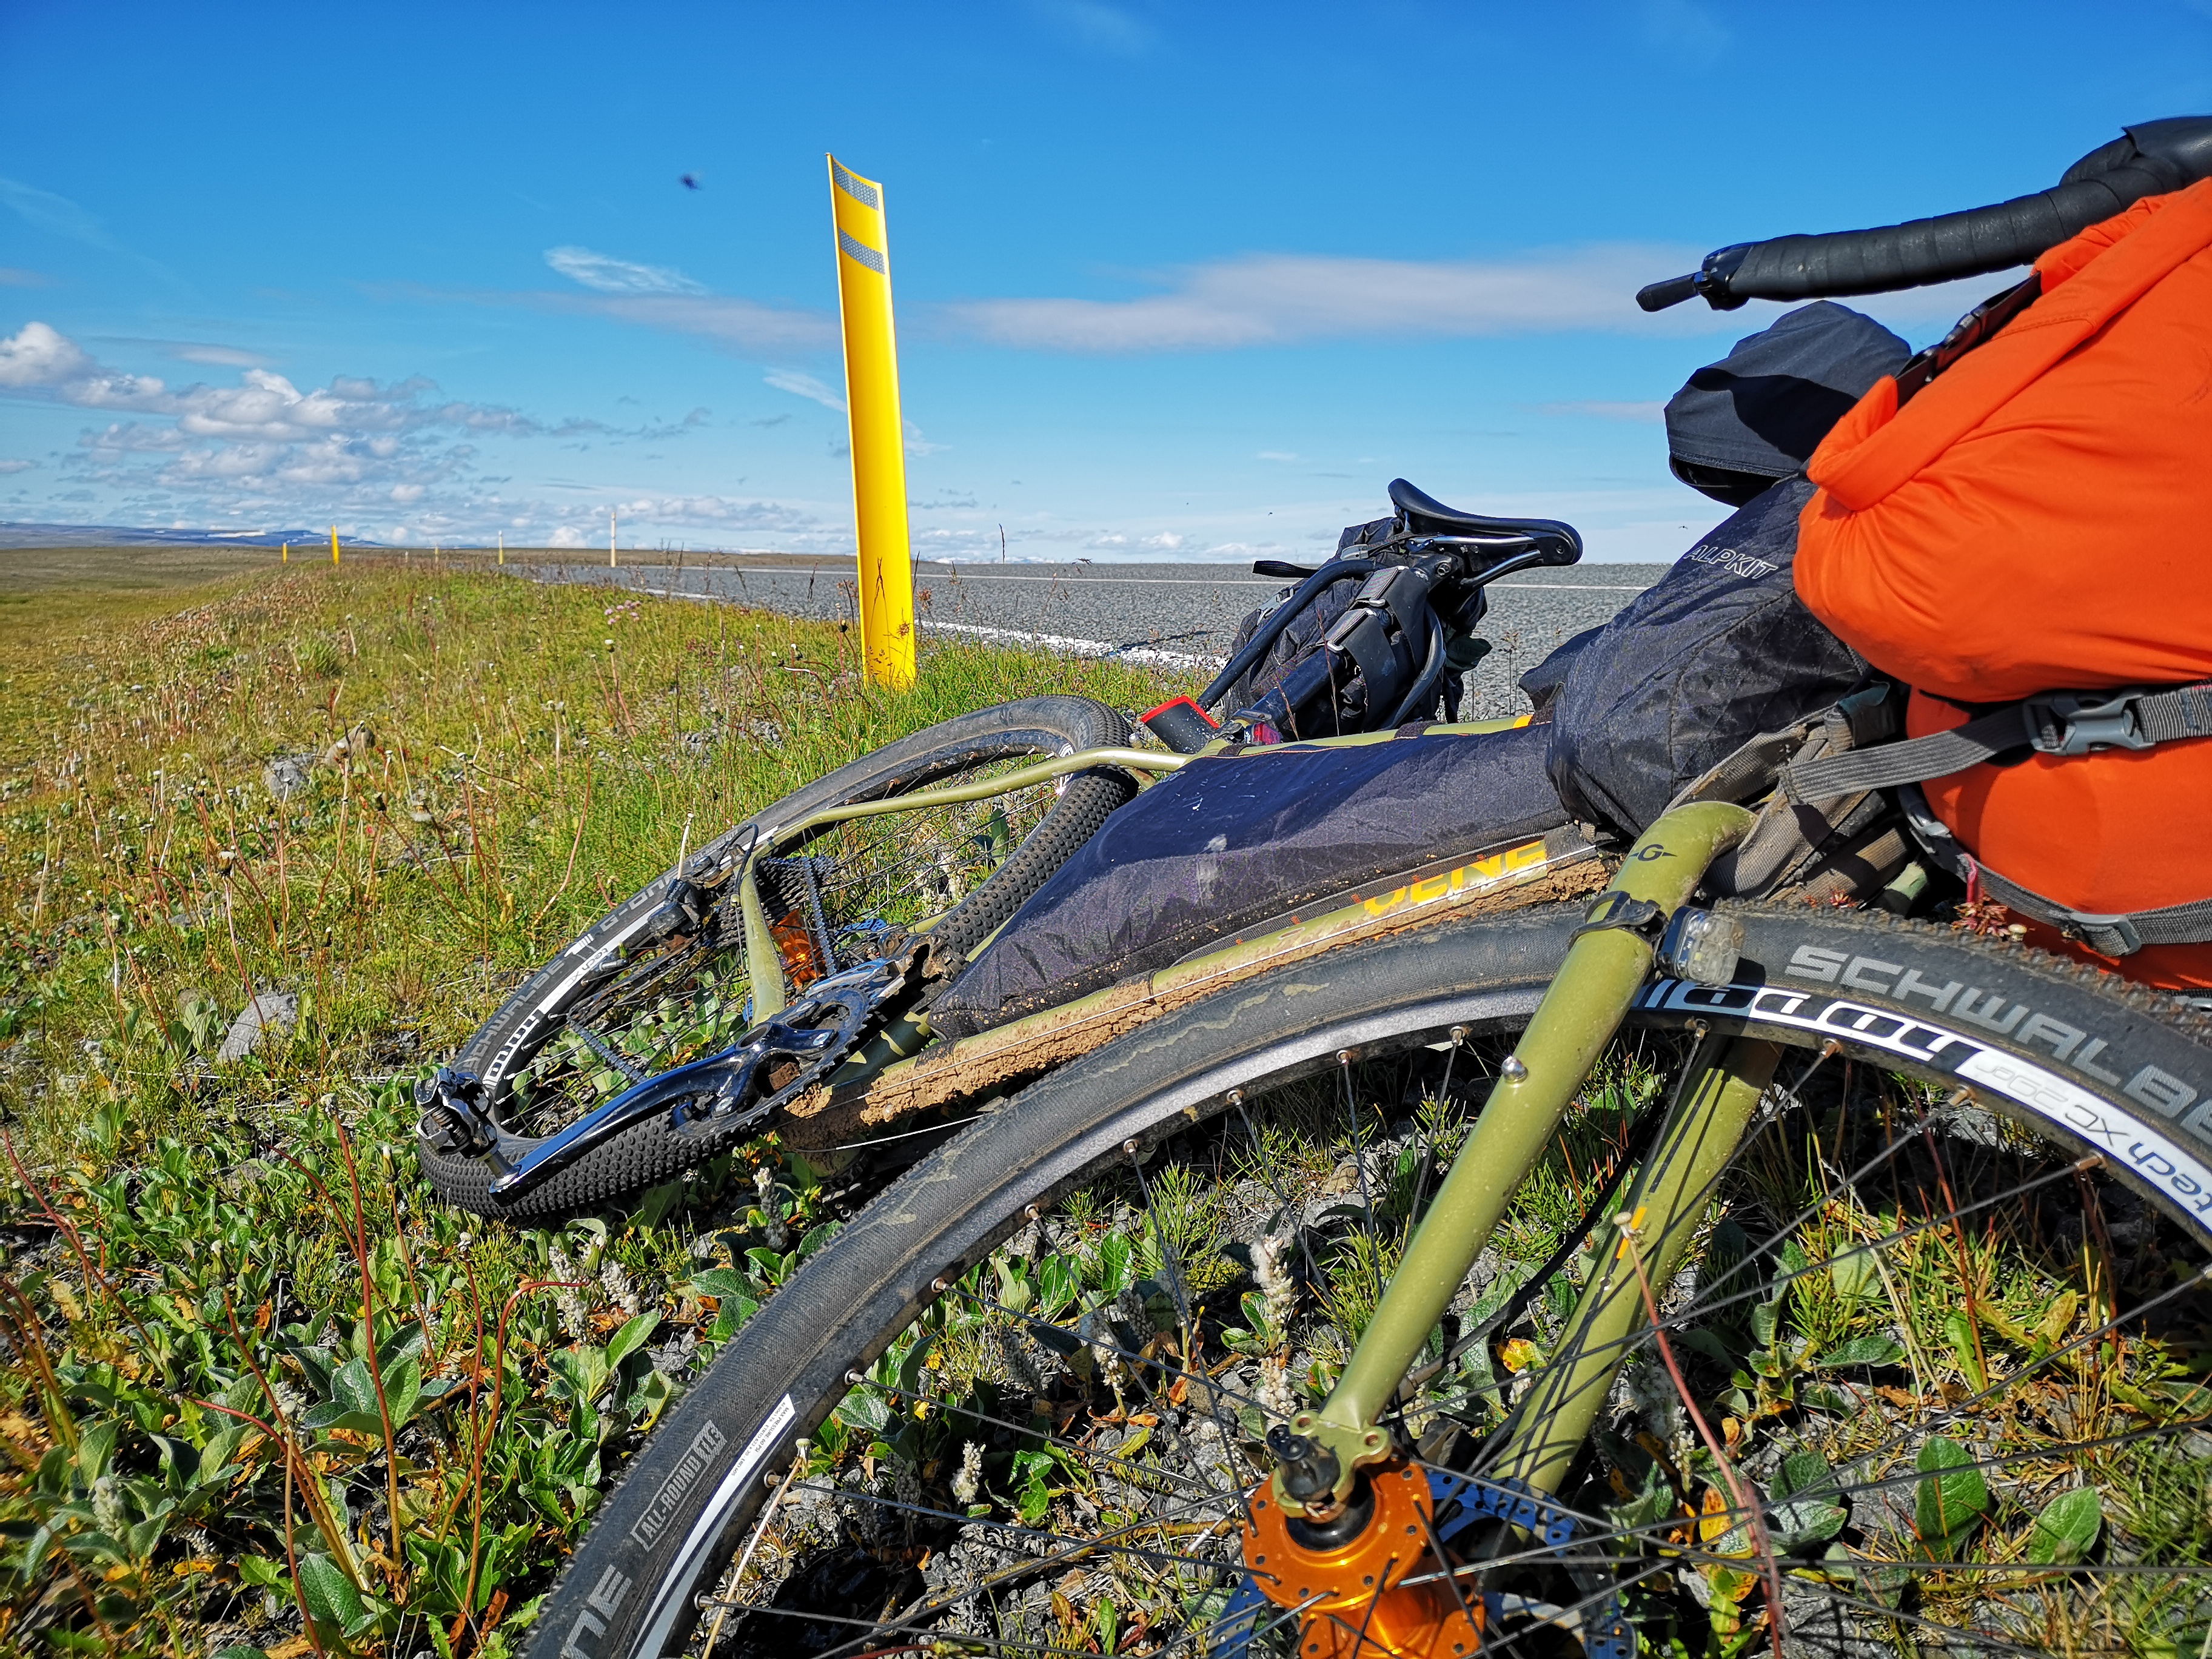
My steel Genesis Vagabond is my go-to, it’s rugged, fixable with a hammer if needed, and it takes larger tyres. My carbon gravel bike is lighter and faster on smoother trails but less forgiving. My mountain bike has no bags at all, just an MTB backpack, and it's ideal for rougher terrain.
The best bike to start with is the one you’ve got. Learn what works, then adapt. You can spend thousands and still not know what you need until you’ve done a trip.
Bag Setup: Keep It Simple
When it comes to carrying gear, start with what you can strap on:
-
A saddle-mounted pack.
-
A handlebar pack can carry your shelter and sleeping system.
-
A frame bag or a small backpack for the rest.
Over time, you’ll figure out what bag setups make your bike feel balanced and manageable. Don’t splash out on a full set of bikepacking bags just yet. Do a ride, take notes, then tweak.

Shelter Options: Tent, Tarp, or Bivvy?
This is about preference and budget. Here’s what I’ve used:
-
Tent: Comfortable, full protection, more expensive. Great for longer trips. I saved up for a Terra Nova Laser Comp 2 tent and still use it today.
-
Tarp and bivvy bag: Ultralight and cheap. Sling the tarp over your bike, pull out the guy lines, and you’ve got a solid shelter. It’s surprisingly weatherproof and packs down tiny.
-
Bivvy only: Crawl-in-and-pass-out! Perfect for races or dry summer nights. Just you, your sleeping bag, and the stars.
Your shelter system should match your trip style. For overnighters, start simple, a tarp and bivvy is plenty.

Sleeping System Essentials
This is where you’ll either sleep soundly or hate your life.
-
Sleeping Bag: Choose one for the coldest temp you’ll face. Spring and autumn? You’ll want 3-season. You can get decent ones from £100-300.
-
Liner: Non-negotiable. It keeps your bag clean, adds warmth, and weighs nothing. I’ve had mine since 2015, it’s still going strong.
-
Sleeping Mat: Foam mats are wear resistant but bulky. Inflatable mats are comfy and compact but need care. I use an Alpkit Cloudbase inflatable, it’s cheaper and reliable.
-
Bivvy Bag: Optional with a tent. Essential with a tarp. Acts as your waterproof barrier and gives some insulation.
-

The Kit You Actually Need
You don’t need much:
-
Ride kit (your cycling clothes)
-
Sleep kit - if anything! (something warm, dry, and comfy)
-
Warm midlayer (Rab Borealis is my go-to)
-
Waterproof jacket and trousers
-
One pot + gas stove (or jetboil)
-
Flint stick (clickers break in the wet)
-
Dehydrated food or DIY ramen (see below)
-
Head torch
-
Power bank
-
First aid kit you actually know how to use
- Hat and gloves
-
Tools: multitool, pump, spare tubes, tyre levers, chain link, gaffer tape, zip ties
Keep your wash kit basic: toothbrush, tiny towel, soap in a bag, lip balm, and dog poo bags (for toilet paper waste products).
Optional nice-to-haves:
-
Camp sandals
-
A tiny diary or book
Cooking: From Gourmet to Get-It-Done
You don’t need a backcountry cooking show. Just something hot and simple.
-
Dehydrated meals (Firepot, Real Turmat, Summit to Eat) are light, easy, surprisingly tasty
-
Camp Ramen:
-
Vermicelli noodles, stock cube, soy sauce, peanut butter, greens, cooked chicken
-
Pack in a sealable bag. Boil water. Tip it in. Done.
-
A flint stick is gold. Jetboils are convenient, until the igniter breaks. Always carry a backup way to light your stove.
Toilets, Hygiene, and the Real Stuff
Yes, you’ll probably have to doi what the bear does in the woods. And no, it’s not the end of the world.
-
Go 50m from water.
-
Dig a hole.
-
Do your business.
-
Pack out your paper with dog poo bags.
Ladies, get your hygiene admin dialled before you go. Trial it on a garden camp or short trip so that you know what works for you and you can simplify your admin and systems. Being confident with your system makes a big difference.
Wild Camping: Respect, Stealth, and Leave No Trace
Technically, wild camping is illegal in most of England except Dartmoor (thankfully!) but it’s widely tolerated when done right:
-
Set up late, leave early
-
Stay above the last fence line (away from livestock)
-
Stay out of sight
-
Leave zero trace - or better yet, leave it better than you found it
The outdoors needs our help. If you see rubbish, pick it up. That bottle you carry out could stop a wildfire.
Planning Your First Trip
Keep it close, simple, and low-pressure:
-
Choose a route you know
-
Aim for one night only
-
Go with one or two mates or solo
When you’re done, do an After Action Review (AAR):
-
What worked?
-
What did not go to plan?
-
What did you not use?
-
What do you wish you had?
- What would you do differently?
Write it down. That’s how you improve. That’s how I learned what I needed and didn’t.
Security and Solo Tips
-
Keep your bike next to your tent (or use it to hold up your tarp)
-
Use a lightweight cable lock for cafes
-
Share your location using Garmin LiveTrack or Strava Beacon
-
Have a backup power bank
-
Tell someone where you’re going and when you’ll check in
If you’re nervous about sleeping out solo, start somewhere familiar. Have an exit plan. Give yourself permission to pack up and go if it doesn’t feel right. You’ll likely wake up buzzing that you did it.
Final Thoughts: You Are Ready
You don’t need a carbon dream machine or perfect gear. You don’t need to wait until you’ve read every forum post.
You just need to start.
Bikepacking is about discovery. About showing up, figuring it out, and realising you’re far more capable than you thought. It’s about watching the sunset from a hill you earned, brewing tea under the stars, and waking up with the world.
If I can help you get there, I will. This is your invitation to ride.
Email me: [email protected] Instagram: @BenTurnerAdventure
See you on the trail.
— Ben
